
(

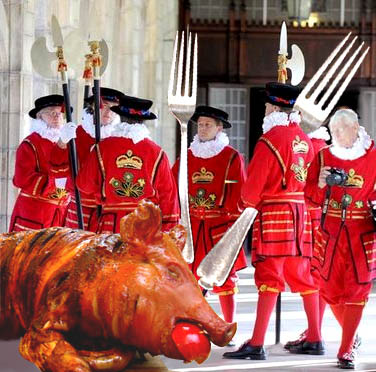
Yeomen of the Guard.
(Piss off, you pedantic bastard.
(you'reallgay.com?
(and I'll thank you to leave well enough alone.
(I am confused now.
( *points*
(

which makes this so very gleeful.
(:(
Mind if I pretend she didn't?
(Mind if I pretend she didn't?
--go to your room until you can behave yourself
(Early morning greetings from this side of the Atlantic, sir.
(g'nite/day
(
...they'll regret the day they ever showed up, mark my words!
*prepares honey baking sauce*
*pre-heats oven*
*waits*
(*prepares honey baking sauce*
*pre-heats oven*
*waits*
is that a portrait of 5olly?
(but it was his birthday card. And the hoe is based on his hoe.
(This hoe is your hoe, this hoe is my hoe
From the allotment, to the atomic garden
From the atomic robin, to the can of relentless
This hoe was made for you and me
As I was walking a ribbon of highway
I saw above me an endless skyway
I saw below me a golden valley
This hoe was made for you and me
This hoe is your hoe, this hoe is my hoe
From the allotment, to the atomic garden
From the atomic robin, to the can of relentless
This hoe was made for you and me
I've roamed and rambled and I've followed my footsteps
To the sparkling sands of her diamond deserts
And all around me were nuclear veggies
This hoe was made for you and me
This hoe is your hoe, this hoe is my hoe
From the allotment, to the atomic garden
From the atomic robin, to the can of relentless
This hoe was made for you and me
The sun comes shining as I was strolling
The wheat fields waving and the dust clouds rolling
The fog was lifting a voice come chanting
This hoe was made for you and me
This hoe is your hoe, this hoe is my hoe
From the allotment, to the atomic garden
From the atomic robin, to the can of relentless
This hoe was made for you and me
As I was walkin' - I saw a sign there
And that sign said - no tress passin'
But on the other side .... it didn't say nothin!
Now that side was made for you and me!
This hoe is your hoe, this hoe is my hoe
From the allotment, to the atomic garden
From the atomic robin, to the can of relentless
This hoe was made for you and me
In the squares of the city - In the shadow of the steeple
Near the relief office - I see my people
And some are grumblin' and some are wonderin'
If this hoe's still made for you and me.
This hoe is your hoe, this hoe is my hoe
From the allotment, to the atomic garden
From the atomic robin, to the can of relentless
This hoe was made for you and me
This hoe is your hoe, this hoe is my hoe
From the allotment, to the atomic garden
From the atomic robin, to the can of relentless
This hoe was made for you and me
(From the allotment, to the atomic garden
From the atomic robin, to the can of relentless
This hoe was made for you and me
As I was walking a ribbon of highway
I saw above me an endless skyway
I saw below me a golden valley
This hoe was made for you and me
This hoe is your hoe, this hoe is my hoe
From the allotment, to the atomic garden
From the atomic robin, to the can of relentless
This hoe was made for you and me
I've roamed and rambled and I've followed my footsteps
To the sparkling sands of her diamond deserts
And all around me were nuclear veggies
This hoe was made for you and me
This hoe is your hoe, this hoe is my hoe
From the allotment, to the atomic garden
From the atomic robin, to the can of relentless
This hoe was made for you and me
The sun comes shining as I was strolling
The wheat fields waving and the dust clouds rolling
The fog was lifting a voice come chanting
This hoe was made for you and me
This hoe is your hoe, this hoe is my hoe
From the allotment, to the atomic garden
From the atomic robin, to the can of relentless
This hoe was made for you and me
As I was walkin' - I saw a sign there
And that sign said - no tress passin'
But on the other side .... it didn't say nothin!
Now that side was made for you and me!
This hoe is your hoe, this hoe is my hoe
From the allotment, to the atomic garden
From the atomic robin, to the can of relentless
This hoe was made for you and me
In the squares of the city - In the shadow of the steeple
Near the relief office - I see my people
And some are grumblin' and some are wonderin'
If this hoe's still made for you and me.
This hoe is your hoe, this hoe is my hoe
From the allotment, to the atomic garden
From the atomic robin, to the can of relentless
This hoe was made for you and me
This hoe is your hoe, this hoe is my hoe
From the allotment, to the atomic garden
From the atomic robin, to the can of relentless
This hoe was made for you and me
that parsnip consolidating his power is worrying me, there's nowt worse than a parsnip gone bad *click
i'll stick this compo one here then, not worth pushing the threads down
(i'll stick this compo one here then, not worth pushing the threads down
(if they're drunk enough)
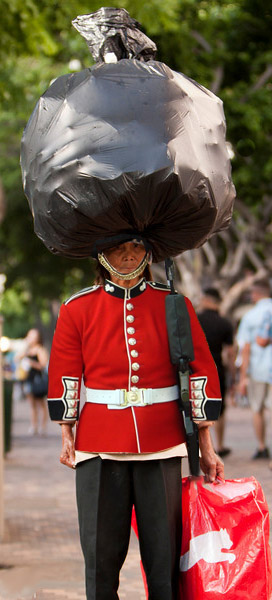
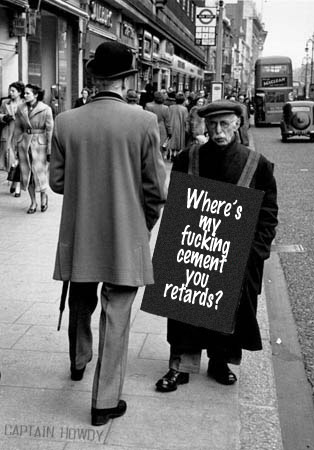
(If so, where's his fucking dustbin?
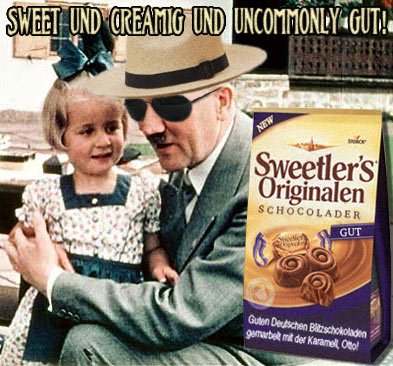
("Yes sir, VERY atomic!"
(Kitty Fantastico suggested Dom DeLuise and Geoffrey Holder as Baron Samedi.
RedHouse then followed this with Honeysuckle Weeks and Taylor Negron!
Redhouse also tossed in Jerry Garcia? (and no, you haven't ruined my Monday...)
(RedHouse then followed this with Honeysuckle Weeks and Taylor Negron!
Redhouse also tossed in Jerry Garcia? (and no, you haven't ruined my Monday...)
Peter O'Toole for tomorrow, naturellement. And Mary-Louise Parker.
(,
Mon 1 Aug 2011, 8:32,
archived)
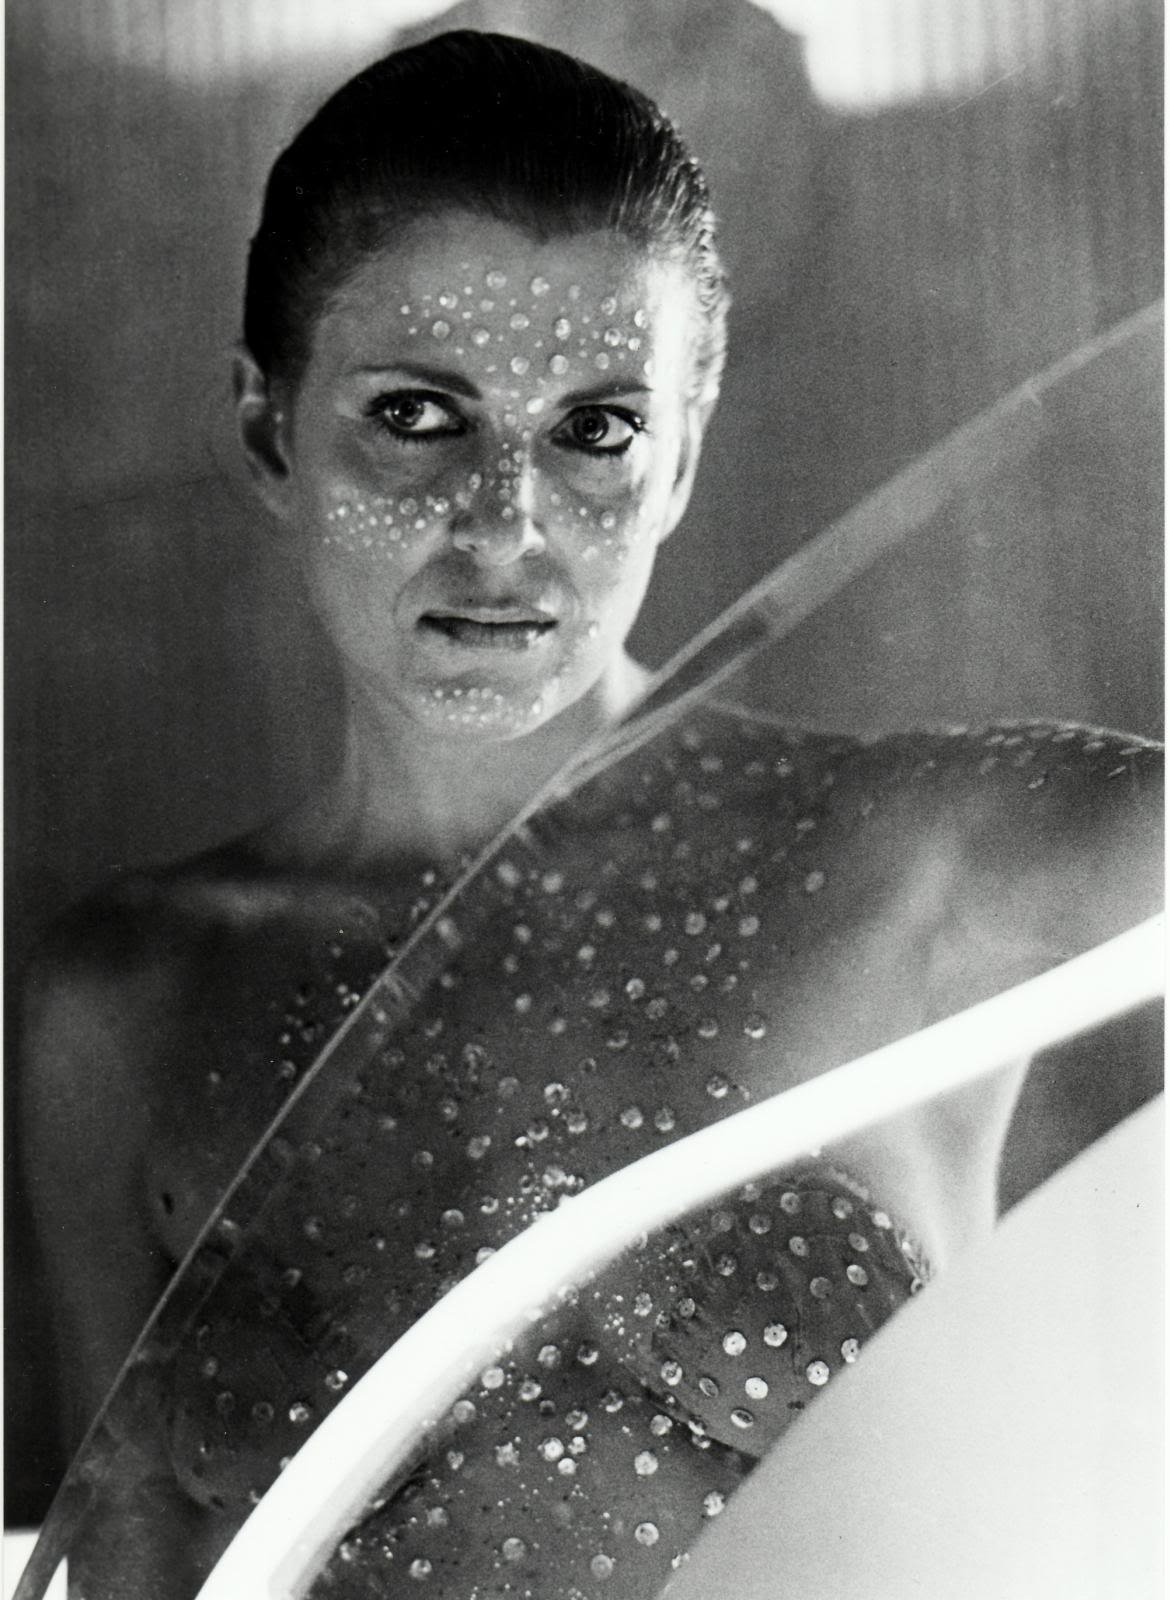
I choose Joanna Cassidy (I distinctly remember her appearance as Zhora in Blade Runner as the first time I saw a nude woman on a movie screen) and your choice of Smith (Madeline or Kevin).
(
One of the best Bond villains, ace choreographer, and the voice of the Oompa Loompa narrator in Tim Burton's Charlie and the Chocolate Factory (FACT!)
(Head blown off, dunked in a coffin full of snakes, and he's still laughing his tits off on the back of a train as the credits roll.
(with that same hearty laugh
(*deploys tactical nuke*
(
(

(
an inch'll do it
(
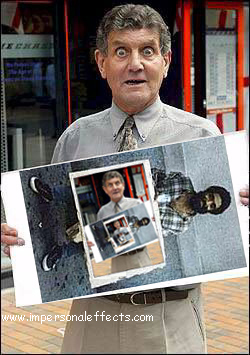
i could be wrong about this but, shouldn't the fly get bigger when you pull the magnifying glass away?
i guess that even if that were the case the pic woudn't work so well
(i guess that even if that were the case the pic woudn't work so well
but I think it can be made to work properly AND look convincing if the rate of change in the fly's size is markedly greater than that of the mag-glass. (just my theory, that is) I hadn't set out to do any of that
(
(

Nice!
(if anyone wants to gaz me I'll ask my question that way, K? Thanks
Update: Thanks guys for the input--apologize for making this a tutorial thread
(Update: Thanks guys for the input--apologize for making this a tutorial thread
just looking for a way to save a little time, and maybe learn a principle I could generalize from to other things.
(
create new layer by copy. Name it PedroHin. Spaz tool activates. Click on image. Voila!
(
turns out there are some ubercool things being done with fractal geometry
fractalanimation.com/
these aren't gifs but... yadda
Image on top right is a mindblower
(fractalanimation.com/
these aren't gifs but... yadda
Image on top right is a mindblower
I've never used those, or masking layers, and only used a gradient layer one time. I need to bone up on what those accomplish. I can always find a way to do what I want, but I'm sure there are faster ways to do certain things.
(I try and use a new tool every now and then to see if there's better way of doing things. though, i pretty use the same tools all the time.
Youtube has some good vid tutorials.
What's a gradient layer?
(Youtube has some good vid tutorials.
What's a gradient layer?
it should work perfectly for that image
(but the problem with a regular mask is that you cannot link a layer to another layer's mask without also linking to the other layer.
So, when you move the first layer, you also move the content of the second layer. It will reveal what's behind it, but always the same portion of what's behind it, which is not what he wants to do here.
(So, when you move the first layer, you also move the content of the second layer. It will reveal what's behind it, but always the same portion of what's behind it, which is not what he wants to do here.

layer 1 1s vader.
layer 2 is a circle
Layer 3 is freebase with clipping mask selected on this layer.
when i move the circle to a new area, i hide freebase, move the cicle and show freebase again.
here's the problem, he wants the freebase part of the pic to appear in the magnifying glass, so you have to link the mask in the glass part of that layer to the mask in the freebase layer without having it move freebase around. Try it and you'll see what the problem is. Either that or you'll solve it.
To put it clearer... the problem is that the content and mask of one layer has to link to the mask, but not the content, of a second layer.
(To put it clearer... the problem is that the content and mask of one layer has to link to the mask, but not the content, of a second layer.
use the lasso tool on the mirror glass cut that out and save it to a new layer and use that as the "reveal" on the clipping mask.
LS18, can you upload the mirror from your image so i can show what i mean
edit - don't worry, i found a lovely one
(LS18, can you upload the mirror from your image so i can show what i mean
edit - don't worry, i found a lovely one
In practice, this would be something like a magnifying glass, or a large pair of spectacles
I couldn't find an elegant way to do this.
(
when you move the mirror, you have to select the glass as well, using shift key, so both layers move at the same time
Can you put the psd online, or put up a screenshot of your layers or something please? I'm still not seeing how you're doing this.
(i'll try and upload it to photobucket.
how's about that mirror? fucking lovely!
(how's about that mirror? fucking lovely!
Failing that, a screenshot of the layers would do it I reckon.
(


but seems like my circles have to be cut exactly to the size of the glass in the frame. the hole doesnt seem to be hidden by mirror frame
( maiden's method may work with that mirror, but i've never tried it
(Thanks for this, I'm going to try it right now.
AH FUCK YES YOU EVIL FUCKING GENUIS THAT'S ELEGANT AS FUCK!
Thank you so much! It's ages since I learned something fundamentally new in Photoshop, rather than just new shortcuts and tweaks.
If there's ever anything I can help you with please let me know... PS vectors, adjustment layers, and blend modes are areas I'm very comforable in.
(AH FUCK YES YOU EVIL FUCKING GENUIS THAT'S ELEGANT AS FUCK!
Thank you so much! It's ages since I learned something fundamentally new in Photoshop, rather than just new shortcuts and tweaks.
If there's ever anything I can help you with please let me know... PS vectors, adjustment layers, and blend modes are areas I'm very comforable in.
I noticed you said above "when you move the mirror, you have to select the glass as well, using shift key, so both layers move at the same time"
To simplify it you can just link those two layers (select them both then click the chain button at the bottom of the layers palette) then they'll always move together.

(To simplify it you can just link those two layers (select them both then click the chain button at the bottom of the layers palette) then they'll always move together.
I'm glad you asked, I've learned something here that I'll definitely use.
(it IS very elegant and can be used in so many situations.
I'm pretty bad at a lot of things in PS, i'd like a nice colour matching tutorial though. I can occasionally get it to work well, but matching skin tones can be a pain in the ass
oh, yes, i forgot about linking layers, i don't tend to use it very often
(I'm pretty bad at a lot of things in PS, i'd like a nice colour matching tutorial though. I can occasionally get it to work well, but matching skin tones can be a pain in the ass
oh, yes, i forgot about linking layers, i don't tend to use it very often
it's very fast and very cool way to store and share files--even huge ones. Plus it is free.
(I have so many accounts for so much shite i forget about them
(I want to start playing, and not take the time to study tutorials :(
(then apply what i've learned. I often forget a couple days later, because i'm a div, so i just go back and have another look.
obviously, some are good and some not so much.
I've found that i watch a vid and decide that the way i do things are better than the way they show. Not that i'm particularly good with PS
(obviously, some are good and some not so much.
I've found that i watch a vid and decide that the way i do things are better than the way they show. Not that i'm particularly good with PS
it uses a combo of the gradient tool and a masking layer. It allows you ways to fade one "image" into another, in much the same way that gradients let you fade from one color or shade to another. It may do other things as well.
edit: www.tutorialstraining.com/graphic_design_tutorials/k1.htm
not sure what version of pshop is used here, but shouldn't matter
(edit: www.tutorialstraining.com/graphic_design_tutorials/k1.htm
not sure what version of pshop is used here, but shouldn't matter
i haven't tried this
(and can use Layer Styles to create the lens part of the magnifying glass as a "Knockout Layer" set to 'deep' (click the fx button and click Blending Options: Advanced Blending: Knockout [dropdown menu] : 'Deep'). The old maid image woud have to within the magnifying glass group below the lens layer and the group's Blending Mode should be set to 'Normal' rather than the default 'Pass Through' this will punch a hole (same shape as your lens layer) through all layers to the background image : The fill opcaity of your lens layer should be lowered the lower it is the more of the background image is reveal good if you want to keep some of the lens' detail.
(I'd like to get this working too if I can because this is another approach I'm unfamiliar with.
Could you post a screenshot of the layers palette please? I've tried to follow your instructions here but no luck so far.
Ok, I got it working. Thanks for the pointers, this is another new thing I've learned tonight.
(Could you post a screenshot of the layers palette please? I've tried to follow your instructions here but no luck so far.
Ok, I got it working. Thanks for the pointers, this is another new thing I've learned tonight.
this should work with LS18's mirror, which i think, has no glass.
will have to play with this
(will have to play with this
it's quite a different approach.
It wouldn't work for me until I reduced the fill opacity of the circle layer (the one set to deep knockout) to 0.

(It wouldn't work for me until I reduced the fill opacity of the circle layer (the one set to deep knockout) to 0.
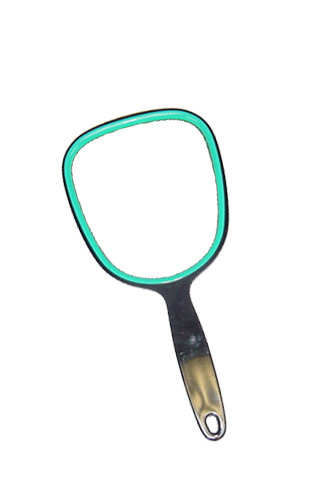
I've used a mask here to block out the glass on the magnifying glass layer.
In actual fact, the magnifying glass source I used had some light reflections and frame shadows on the glass, so if instead of using a black mask you use a grey one, it leaves some of the glass features intact as an overlay.
Here's the magnifying glass I used so you can see what I mean about the glass
(In actual fact, the magnifying glass source I used had some light reflections and frame shadows on the glass, so if instead of using a black mask you use a grey one, it leaves some of the glass features intact as an overlay.
Here's the magnifying glass I used so you can see what I mean about the glass
I'll have a play with this method later.
going back to mine, you can create a copy of the mirror, change the transparency and place it over the top, if you want to retain reflections, or distortions that the glass may create
(going back to mine, you can create a copy of the mirror, change the transparency and place it over the top, if you want to retain reflections, or distortions that the glass may create
at least i think so, anyway
(


* with some extra Phwooorrr...
(No I didn't mean Elvis!)
((No I didn't mean Elvis!)
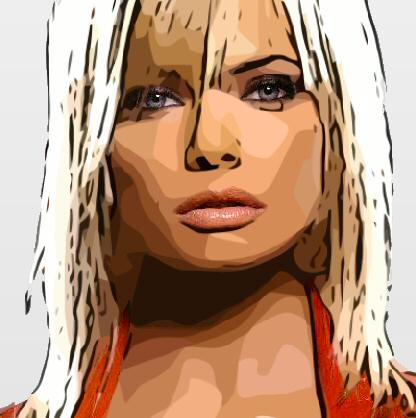
you can achieve this effect:

by painting the mirror 100% black (preferably not sloppily),
adding a layer mask to the mirror layer, showing everything outside/behind the mirror.
Now you import the two layers you want to use, placing them like this:

Note that the two top layers are set to be "clipping masks".
Finally, select the mirror layer and click the fx button on the layers palette, clicking "Blending options".

Then change "Knockout" to deep, and the left handle of "Blend if" for "This layer" to something 2-ish.
Now you can move the mirror layer, revealing the flanbase below...
If you want to look at the psd, it's right here.
(,
Mon 1 Aug 2011, 10:04,
archived)
by painting the mirror 100% black (preferably not sloppily),
adding a layer mask to the mirror layer, showing everything outside/behind the mirror.
Now you import the two layers you want to use, placing them like this:
Note that the two top layers are set to be "clipping masks".
Finally, select the mirror layer and click the fx button on the layers palette, clicking "Blending options".
Then change "Knockout" to deep, and the left handle of "Blend if" for "This layer" to something 2-ish.
Now you can move the mirror layer, revealing the flanbase below...
If you want to look at the psd, it's right here.


It's just not done.
(

Good heavens, what an unpleasant picture!
I like it.
(I like it.
I suppose you probably missed this bandwagon while you were away?
( How did it start?
(I'm a johnny-come-lately, bandwagon-jumper of the highest order.
(
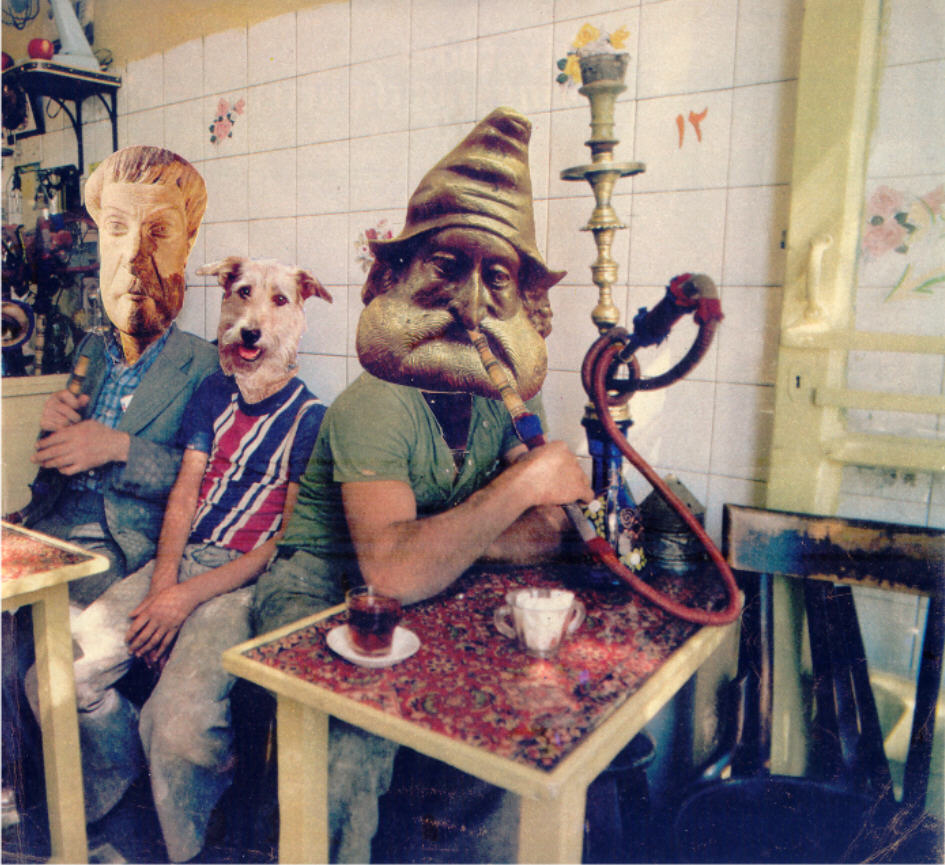
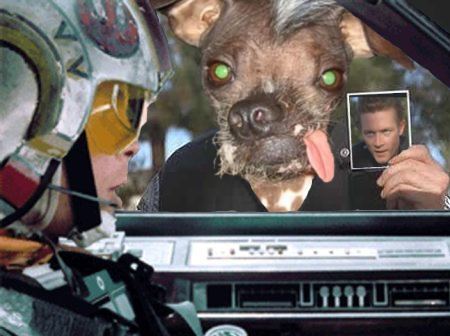
Original was just dog with shades and hoody and cig.


Especially fainting goats. They're the best goats of all.
(They're the best goats of all.
(A little more Larry Tate, too.
(
(
the goat is not even opening its mouth :(
(Monkey(tm) Beer
(


Reminds me of a bandwagon back when I joined b3ta

(ahhh :D
(
probably the same bloke who's had yer arse, time and again
(

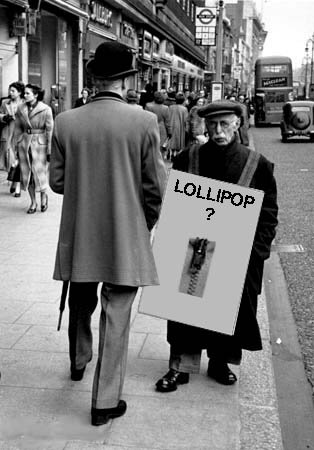
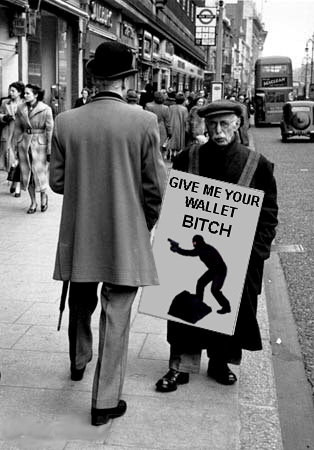
deRIS for sloppy shopping: that's a zipper

edit: too bad it had to come in this low on the page
(
And that should be "wallet, bitch."
Proper punctuation and manners cost nothing.
(Proper punctuation and manners cost nothing.
or good manners in robbery, for that matter :)
(
And is that a record for an fp?
(/start to believe I've offended the mods.
(tinyurl.com/3ery4pr
And click the 'Listen' button on the right.
(And click the 'Listen' button on the right.
Think that piece of brilliance up there works reet lovely with the Wallace and Gromit theme from "Grand Day Out" - and a side order of cheese.
(
(
HTF do you manage that, serial bars I can do, but parallel boozing???
(


Happy Birthday Roy Walker, especially for the Bourbon Fox.
(
(

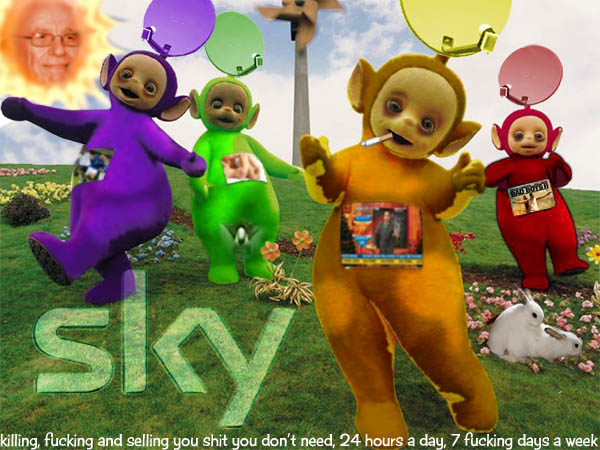
Make your own "controlled by a heartless media corporation" jokes.
Max Headroom, though. Always reminds me of Sigue Sigue Sputnik for some reason.
(,
Sun 31 Jul 2011, 22:36,
archived)
Max Headroom, though. Always reminds me of Sigue Sigue Sputnik for some reason.

Good, isn't it?

(
(


« Older messages | Newer messages »
